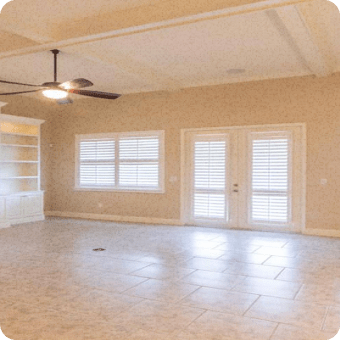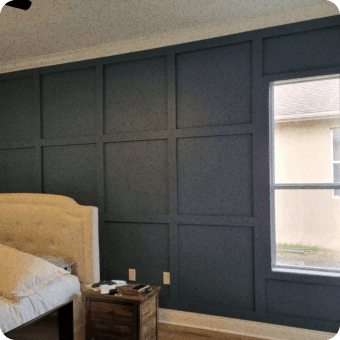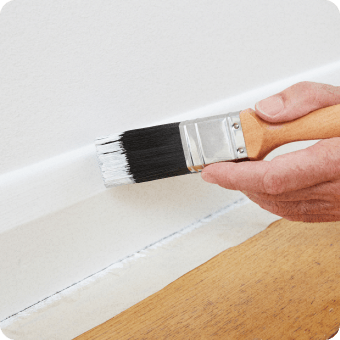
Interior Painting in Tampa, FL
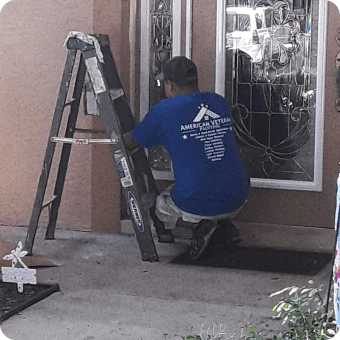
Interior painting needs a great deal of precision and attention to detail. That’s why you need the best interior painters Tampa, FL has to offer. You don’t want just anyone to enter your home and business. You need reliable professionals, like the PAINT CORPS™ team, who will respect your space and get the job done right!